While you might have mastered our sugar cookie recipe already, the actual baking process is just half the battle. Once your treats are out of the oven—in the perfect star, gingerbread, and stocking shapes, naturally—it's time to whip up your royal icing and get to piping. Even if this portion of the creative process seems like a daunting task, applying a few of our easy tips and tricks will make your homemade Christmas cookies look like they're fresh off the bakery shelf.
Outline Your Cookies First
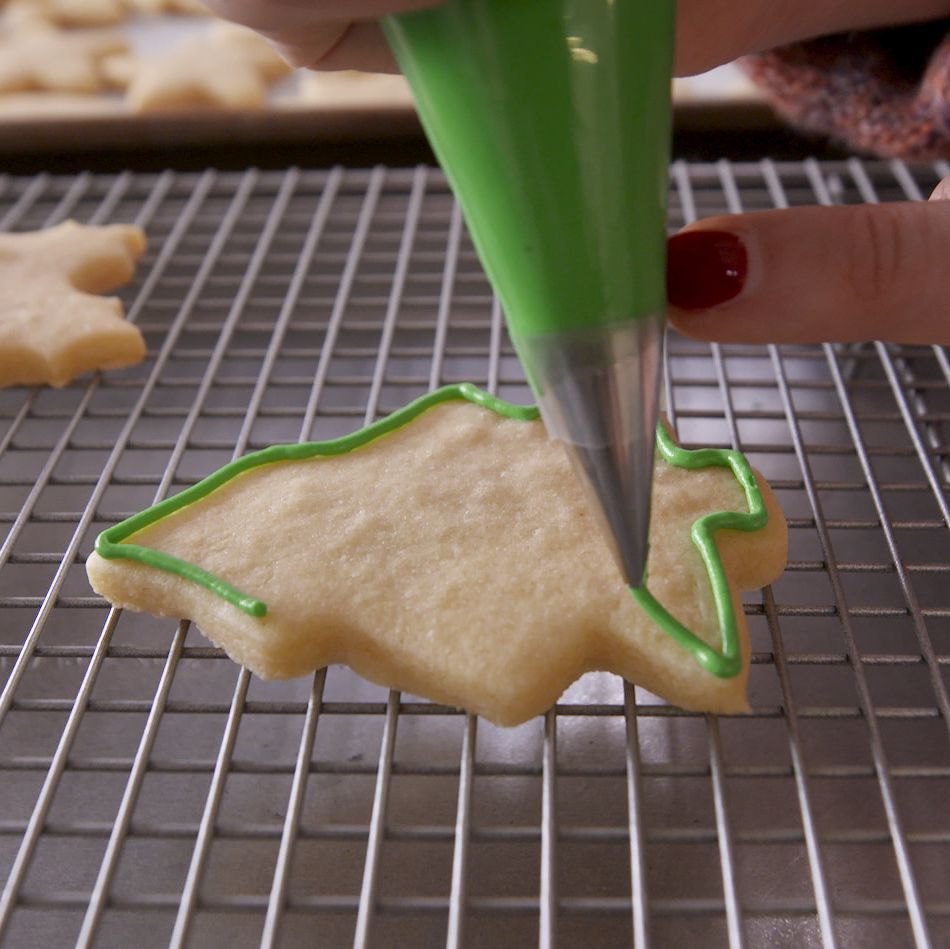
This is the very first step to basically all cookie decorating. By outlining the edges of your cookie with royal icing, you'll be able to fill in the entire cookie without the risk of the icing spilling out over the edges. You want to make sure the icing is thick enough that it holds its shape, but not so thick that you can't easily spread it around.
How to achieve this? It should squeeze out of your piping bag easily. Use a small round tip and simply pipe around the edge of your cookie, making sure you allow the icing to fall into every corner—it's all about the details. Start releasing pressure on the piping bag just before you get to where you started and allow the two ends to meet with a very slight overlap. This will dry and set in just a few minutes.
For a visual aid, the step-by-step video above video demos how to accomplish this technique, along with several of our additional tips!
Flooding Will Create A Professional Finish
Once your consistency is right, add it to a piping bag with a small round tip and then follow the outline you've piped around the entire cookie, continuing in a circle until the whole thing is filled. If you have any air bubbles or miss any spots, work quickly and use a toothpick to pop the air bubbles or push the icing around to where you want it to go. After just a few minutes the tops of the cookies will begin to harden and after about an hour the icing will completely set.
Marbling Is Easier Than It Looks
This technique is always so pretty and much less complicated than it looks. You just have to work quickly while the icing is still wet. First flood your cookie. Then, using another color in the same thinner icing consistency you used for flooding, pipe horizontal lines across the cookie. Using a toothpick (or sugar cookie needle) and starting at the top of the cookie, drag it down through the icing. Start the next line at the bottom of the cookie and drag your toothpick up through the icing. Continue across the cookie, alternating dragging from top and bottom. The lines can be as close together or spread out as you prefer. Pro tip: Wipe the tip of your toothpick between each line for an even cleaner design.
Detailing Will Elevate Your Cookies
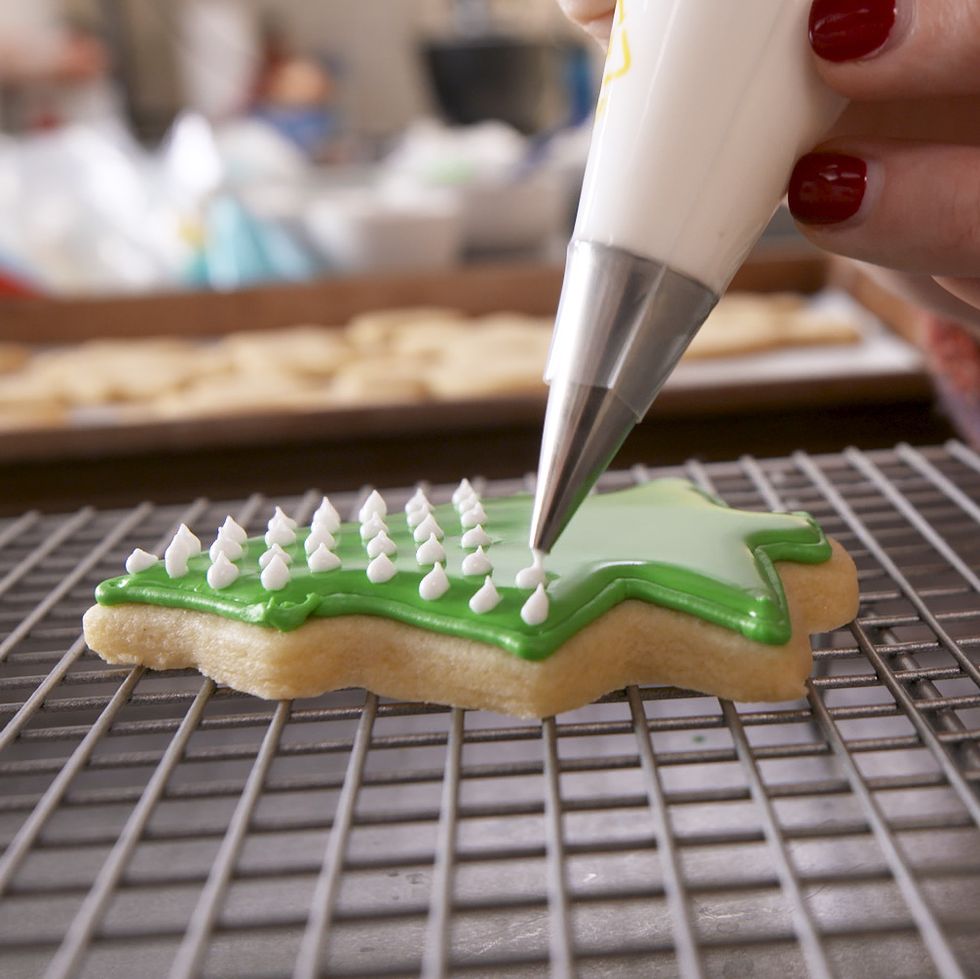
Adding in simple little details can really up your sugar cookie game. We love dotting cookies with polka dots; they're easy to do and always look cute. For dots that really stand out, use the thicker icing and top the flooded cookie after it has set for a few minutes. For dots that are flush with the icing, use the thinner icing and add them immediately after flooding your cookie before it has a chance to dry.
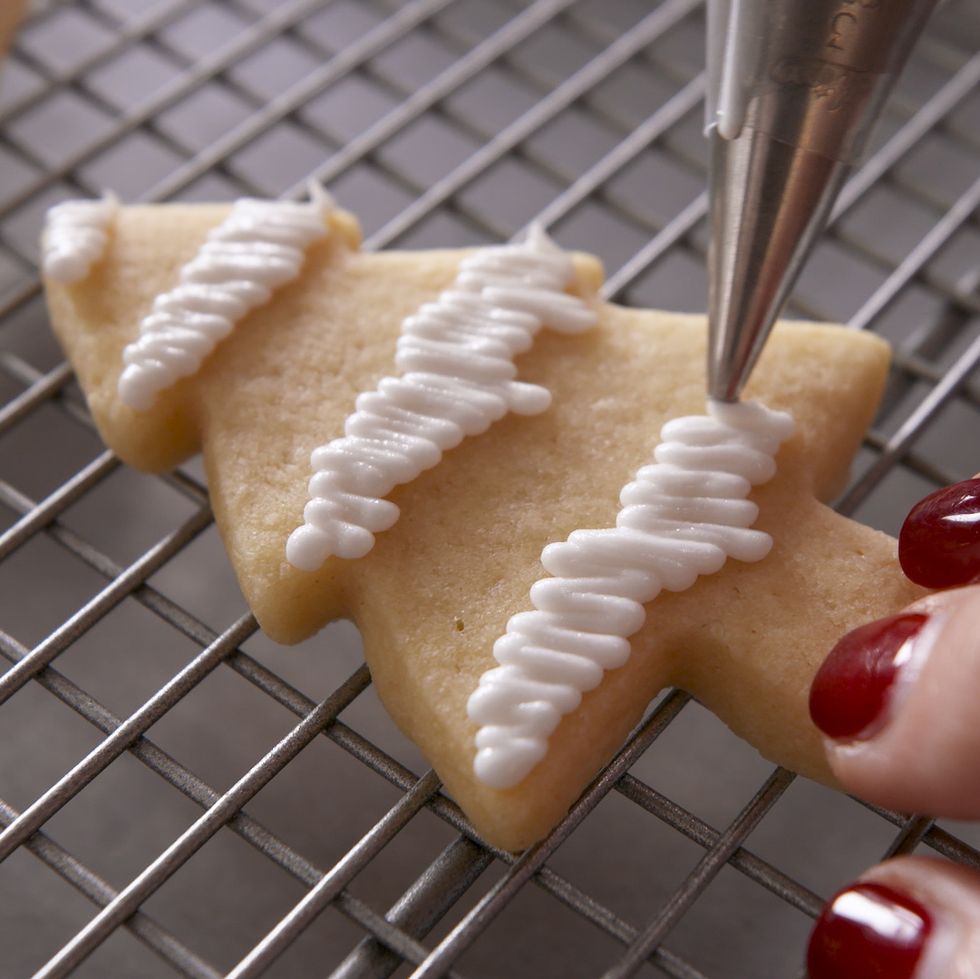
You can also skip flooding the sugar cookies and use the thicker consistency to simply squiggle icing on top. This is an easy way to decorate snow on trees and add a lot of texture to the cookies while using way less icing.
Flocking Adds A Festive Touch
Flocking is one of the easiest ways to elevate your cookie design. The concept is simple enough and includes layering glittery sprinkles over top your frosting. However, there is a key to mastering this technique so that your sugar doesn't shake off.
For flocking, you can cover the cookie completely with icing or the area of the cookie you want to decorate and then add plenty of sprinkles or sugar on top. Just gently tap the cookie on its side afterwards to get rid of the excess. You can also dip the cookie in a pile of sprinkles/sugar, if you find that easier.
Plastic Wrap Is Key
The key to keeping your royal icing the right consistency is either plastic wrapping the frosting directly against the surface or using a wet paper towel over it. This will keep it from drying out quickly.
Don't Forget The Toothpicks
Aside from using the toothpicks for marbling, they're also a handy tool for fixing any small issues. Once you add the icing to your cookie you can use a toothpick to fill any holes by gently moving the icing around. Do this quickly before the top layer of icing can start hardening. It's also a great way to pop any air bubbles that might appear after flooding.
Buttercream Is A Wonderful Alternative
When all else fails (read: you're just too scared to try royal icing in the first place), there's always an alternative: Buttercream. It's easier to work with but still adds just the right amount of dimension and texture.

