Conversations about food in the Delish test kitchen usually turn into off-the-wall brainstorming sessions, where no idea is wrong—unless it makes you want to dry-heave at the mere thought of the food pairing. Then you're fired.
Just kidding.
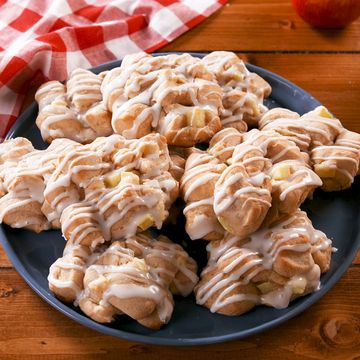
These Apple Pie Rings started out as a horrible idea: What if you made onion rings with something other than onions? But, when you stop thinking of it as a savory dish, and start thinking of just the concept—a fruit or vegetable, cut into rings, batter-dipped and fried—it suddenly sounds appealing. The dessert itself isn't too different from an apple fritter, and when sprinkled (okay, coated) in cinnamon and sugar, it's like a glorious mashup of apple pie filling and cinnamon-sugar donuts.
We tried baked versions, but they just didn't compare to a fried apple pie ring. If the thought of frying things freaks you out, don't worry—I've always been a little popping-oil skittish too, but as you can see from the step-by-step tutorial below, there's nothing complicated about this dessert. If you can sizzle bacon, you've got this.
Step 1: Cut Your Apple Rings.
Before cutting into the apples, let's do some prep work: Grab a mixing bowl and prepare the batter we'll dip the apples in. You can use our recipe, or take a shortcut and use an instant pancake mix, like Bisquick. Next, fill a skillet about an inch high with vegetable oil, and set it over medium-high heat to warm up.
Now it's apple time.
Peel the apples and slice them into coins. If you use a large chef's knife, you can cut right through the core and everything. Then, use a small biscuit cutter or other cookie cutter to create holes in each coin, forming the apple "rings." Easy, right?
Step 2: Fry the Apple Rings in Small Batches.
By this time, the oil should be hot. If it's smoking at all, turn down the heat a bit. Then, using tongs, dip each apple ring in the batter, coating it completely, then gently set it into the oil-filled skillet. (If you get scared and drop it, you risk splashing the hot oil. Gently lowering it in is the key—even if you're squealing, "please don't pop oil at me, please don't pop oil at me, pleasedon'tpopoilatME!" the whole time.)
Step 3: Flip the Apples
You'll notice the edges of the rings start to brown immediately. After about a minute, flip the apple rings. You want them to be lightly golden to medium brown.
As soon as both sides are browned, place them on a plate lined with paper towels to drain off any excess grease and dust with ground cinnamon and sugar. Let them cool for a few minutes, but serve them while they're still warm, because they're truly magical—pillowy outside, sweet-tart apple inside—at that point.
If they're out for too long, they'll get a little floppy, at which point, they're best served a la mode. Wait—what am I saying? Like pretty much every dessert in the history of mankind, they're best served a la mode at any time.
Follow Delish on Instagram.


